

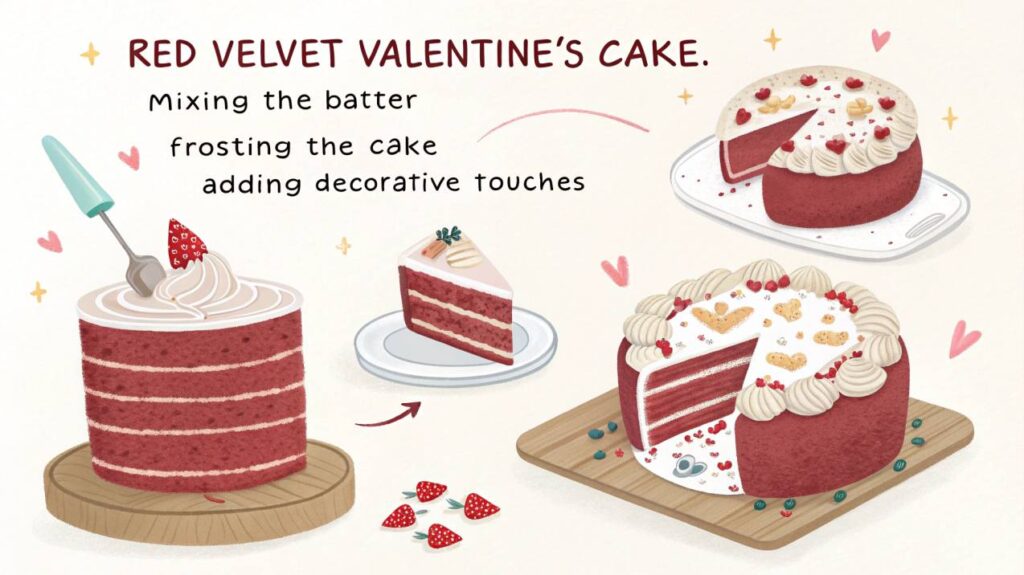
Red Velvet Valentine Cake Recipe is a timeless classic known for its rich flavor, moist texture, and striking red color. It embodies romance and elegance, making it the perfect dessert for Valentine’s Day. Whether you’re baking for a loved one, a special celebration, or just to treat yourself, this cake is sure to impress.

I still remember the first time I made a red velvet cake for Valentine’s Day—the anticipation, the aroma filling the kitchen, and the joy of sharing a slice with my significant other. This recipe has since become a tradition, and I can’t wait to share it with you!
Why You’ll Love This Recipe
- Moist and velvety texture: Every bite is soft, rich, and luxurious.
- Perfect flavor balance: Just the right amount of cocoa and sweetness.
- Stunning red color: A festive and romantic centerpiece for your celebration.
- Cream cheese frosting: The tangy, creamy frosting complements the cake perfectly.
Ingredients Needed
For the Cake:
- 2 1/2 cups all-purpose flour
- 1 3/4 cups granulated sugar
- 1/4 cup unsweetened cocoa powder
- 1 teaspoon baking soda
- 1/2 teaspoon salt
- 1 cup buttermilk
- 2 large eggs
- 1 teaspoon vanilla extract
- 2 tablespoons red food coloring (gel preferred)
- 1 teaspoon white vinegar
- 1 cup vegetable oil
For the Cream Cheese Frosting:
- 8 oz cream cheese, softened
- 1/2 cup unsalted butter, softened
- 3 1/2 cups powdered sugar
- 1 teaspoon vanilla extract
Step-by-Step Instructions
Preparing the Batter:
- Preheat your oven to 350°F (175°C) and grease two 9-inch round cake pans.
- In a large bowl, whisk together flour, sugar, cocoa powder, baking soda, and salt.
- In another bowl, whisk together buttermilk, eggs, vanilla, red food coloring, vinegar, and vegetable oil.
- Gradually mix the wet ingredients into the dry ingredients until smooth.
Baking the Cake:
- Divide the batter evenly between the prepared cake pans.
- Bake for 30-35 minutes or until a toothpick inserted in the center comes out clean.
- Allow the cakes to cool in the pans for 10 minutes, then transfer to a wire rack to cool completely.
Making the Frosting:
- Beat cream cheese and butter together until smooth and fluffy.
- Gradually add powdered sugar, beating until creamy.
- Mix in vanilla extract.
Assembling & Decorating:
- Place one cake layer on a serving plate and spread a layer of frosting on top.
- Place the second cake layer on top and frost the entire cake.
- Decorate with sprinkles, heart-shaped toppings, or chocolate shavings as desired.
Pro Tips for the Perfect Red Velvet Cake
- Use gel food coloring for a vibrant red without altering the texture.
- Buttermilk and vinegar enhance the cake’s tenderness and flavor.
- To keep the cake moist, avoid overbaking and store properly.
- For smooth frosting, ensure all ingredients are at room temperature before mixing.
Variations & Customization Ideas
- Cupcake version: Pour batter into cupcake liners and bake for 18-20 minutes.
- Heart-shaped cake: Use a heart-shaped pan for a romantic touch.
- Add-ins: Mix in chocolate chips or top with fresh berries for extra flavor.
Serving & Storage Tips
- Storing leftovers: Keep the cake in an airtight container at room temperature for up to 2 days or refrigerated for up to a week.
- Freezing: Wrap cake layers individually in plastic wrap and freeze for up to 3 months. Thaw before frosting.
Read More — Spicy Sticky Thai Chicken Wings
Frequently Asked Questions
Can I make it without food coloring?
Yes! The cake will have a natural light cocoa color instead.
Can I use a different frosting?
Absolutely! Try buttercream or whipped cream frosting for a twist.
Can I make it ahead of time?
Yes, you can bake the cake layers in advance and freeze them until needed.
Conclusion
This Red Velvet Valentine’s Cake is the perfect way to show love through baking. Whether you’re a seasoned baker or trying this for the first time, this recipe is simple, delicious, and guaranteed to impress. If you try this recipe, let me know how it turned out! Share your creations on social media and tag me. Happy Baking & Happy Valentine’s Day!